Would like to listen to this month’s post?
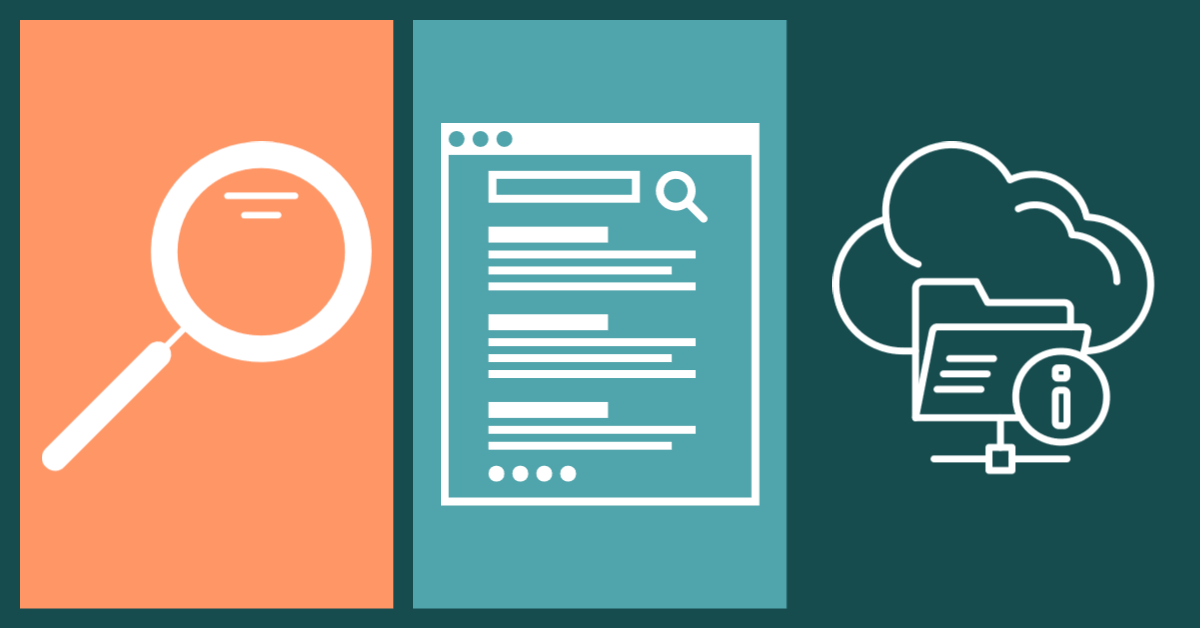
Library Tools for your Research
There are many different tools within the library system and website to help you manage your research. These range from one-to-one tutorials with staff, to how-to-videos, printed QuickGuides and podcasts.
This month we’ll be exploring a digital tool called the EBSCO folder.
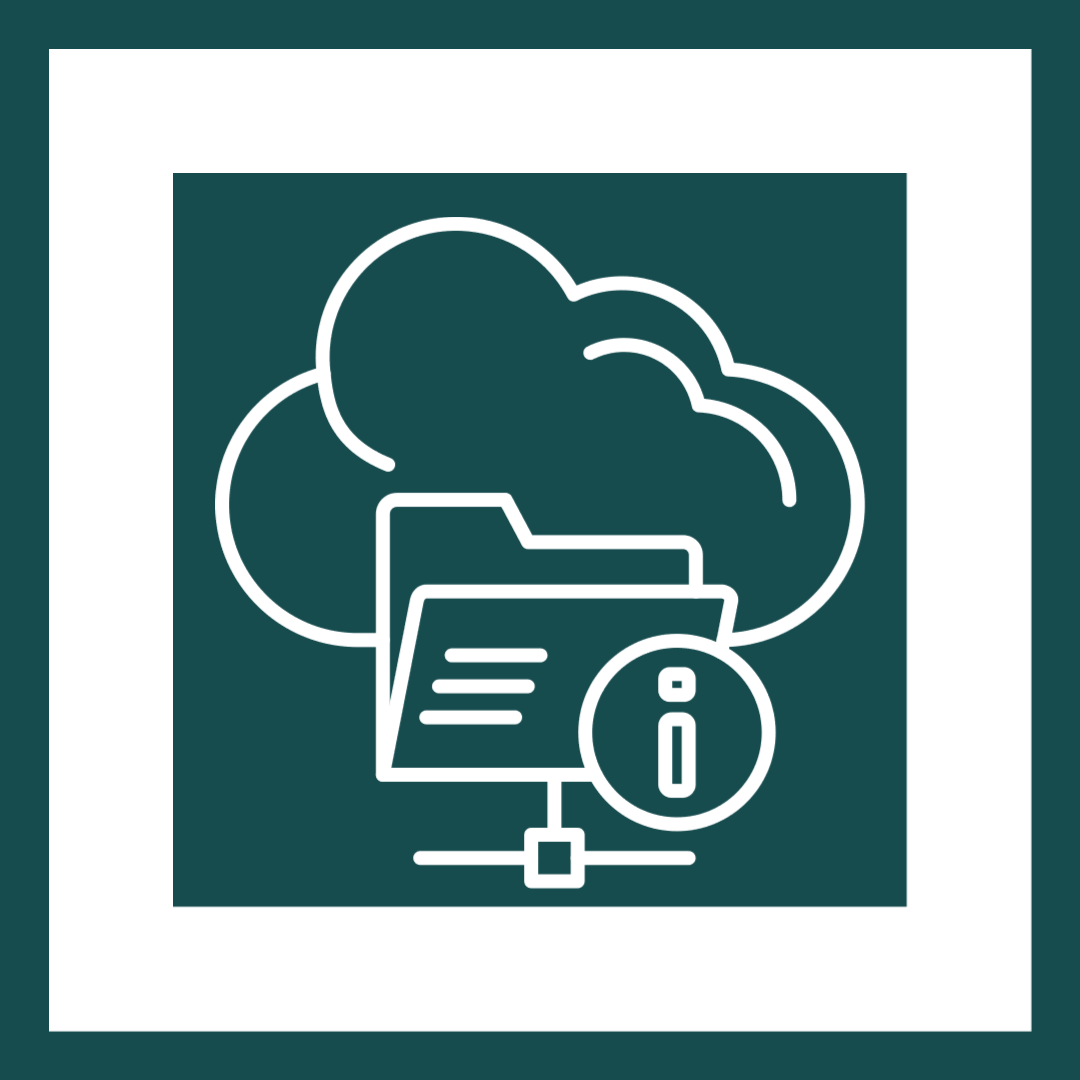
What is an EBSCO Folder?

An EBSCO folder is a digital folder. It’s part of the library’s search engine, EOLAS, which is provided by EBSCO.
Once you are registered with the library system, it is automatically created for you.
You can use it to store results from any searches that you run in the library databases with EOLAS. If you run a search directly through a database, you won’t be able to store the results in your EBSCO folder.
For more information on how to use EOLAS to search for resources, please see our previous post on it.
Adding Resources

It’s easy to add resources from any EOLAS search results list to your EBSCO folder.
- Go to the Yeats Library homepage.
- Run a search with EOLAS.
- On the results page, look for the pale blue folder icon to the right of each result.
- Click on the blue folder icon to add the resource to your EBSCO folder.
- When the folder turns brown, the resource has been added to your EBSCO folder.
Accessing Saved Resources
To access any of the resources that you’ve saved:
- Go to the brown folder icon on the on the blue toolbar at the top of the results page (after you run a search with EOLAS).
- Sign in with your usual student log-in details to access it.
- Your list of resources will be displayed in the ‘My Custom’ folder. This folder is also automatically generated. Any new resources that you add to your EBSCO folder will go here.
Organising Your Saved Resources

You will need to log into your EBSCO folder to organise the resources that you’ve saved there.
- Log into your EBSCO folder.
- In the left-hand pane look for the folder called ‘My Custom’.
- To create a new folder, use the ‘Add New’ icon to create a new sub-folder. All created folders will be stored as sub-folders.
- Name your new folder.
- Go back into the ‘My Custom’ folder results page.
- Use the check box beside each title to select resources that you want to move.
- On the grey toolbar above the list of resources, select the ‘Move To’ option.
- A drop-down list of folders will appear. Select the folder you want to move the marked resources to.
Other Tools to Consider
If you’ve found this month’s post on a digital tool useful, please check out some of our other tools and supports: